This procedure describes how to set up you ClickShare Conference and Present device for the first time; and is meant to
- Update the Base Unit to the latest firmware
- Activate the SmartCare Service Contract
For your convenience, we have made these steps as easy and minimal as possible. Initializing a Base Unit should take less than 5 minutes if you have an active internet connection.
Note! When your device is running on a firmware prior to version 2.10, you needed an active internet connection before you could start configuring your device.
See KB 9744 to know if your Base Unit was pre-installed with firmware version 2.10 or above.
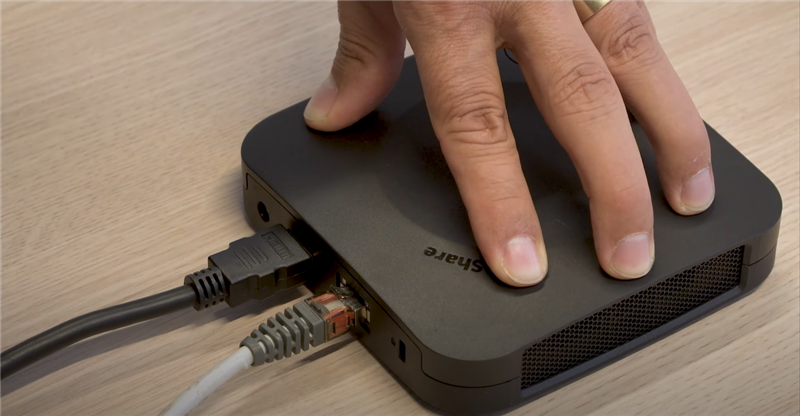
- Take the Base Unit out of the box, and connect it both to the network and the display.
- Connect the power cable to the Base Unit, this will start up the device.
The Barco logo will be first shown as the device boots up and afterwards, the onboarding screen (similar as the image below) will be shown on your meeting room display instructing you to complete the setup.
If your Base Unit is of CX-series, connect your meeting room peripherals to the USB port of the Base Unit at this stage.
For the list of supported peripherals and other useful information related to peripherals connectivity see KB 3554.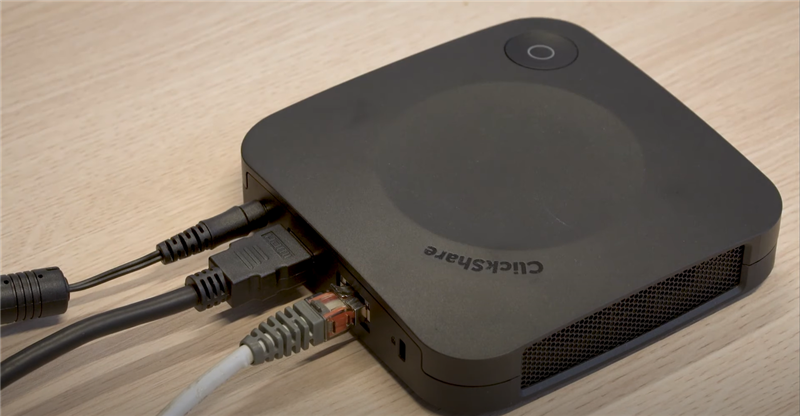
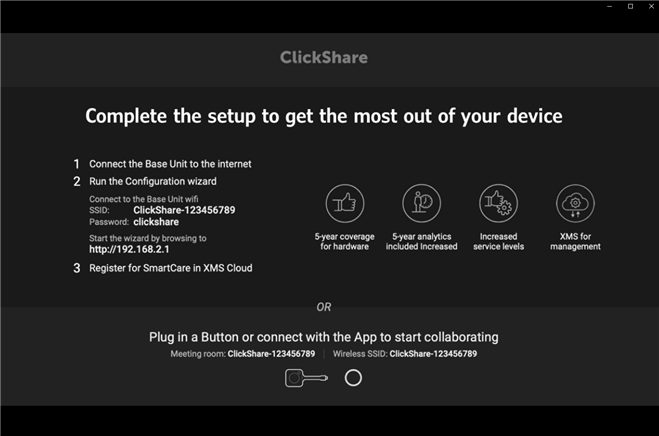 Info! When you have no image on the screen, this might be because you plugged in the HDMI™ cable after powering on the device. Make sure the display is plugged in and power cycle the Base Unit.
 - Connect your laptop to the Base Unit Wi-Fi:
- Find your Base Unit SSID in the list of available Wi-Fi. The default SSID is 'ClickShare-<serial base number>'
- Enter the password (default is clickshare)
- Once the Wi-Fi connection is established open the ClickShare configuration wizard:
- Open the web browser (e.g. Google Chrome) and enter the default IP address 192.168.2.1
- Enter the login credentials, accept EULA and click Log in.
- username: admin
- password: admin
- Click Start configuration to start configuring your Base Unit. The following can be configured:
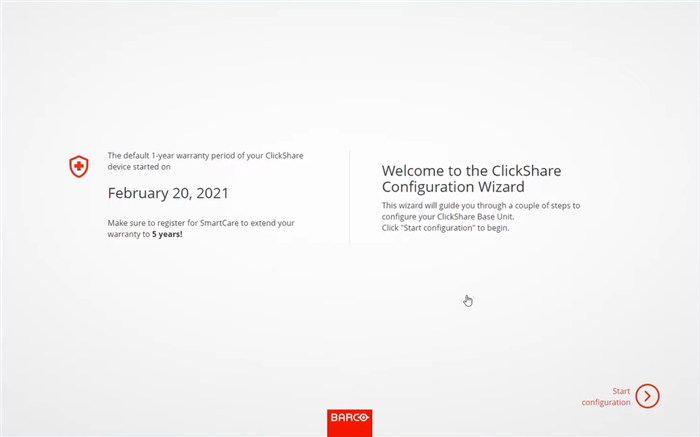
For more information on Base Unit settings, refer to your respective Base Unit product installation manual available for download on barco.com.
- Firmware Update: By default, set to automatic (recommended): which means that your Base Unit will automatically update at any time after Barco has released a new version of the firmware.
Manual update options allow you to update firmware manually (how to, see KB 5923). - Personalisation: Set language, meeting room name, location and welcome message
- System: Set timezone and mode for date and time
- Security level: Set the desired security level
- Password: Set(recommended) the new password of the Base Unit Configurator
- Network: Select a frequency band, channel, change Base Unit SSID, enable/disable SSID broadcast and set a new Base Unit Wi-Fi password.
- SmartCare: Instruction for activating SmartCare by registering your ClickShare device (and adding it in XMS Cloud).
- Firmware Update: By default, set to automatic (recommended): which means that your Base Unit will automatically update at any time after Barco has released a new version of the firmware.
- Register your ClickShare Base Unit and add it in XMS Cloud. This simple action will ensure that the SmartCare contract is activated.
For instructions on how to register you ClickShare device - see KB 11658. - Navigate to the ClickShare configuration wizard and click Finish configuration to complete the configuration.
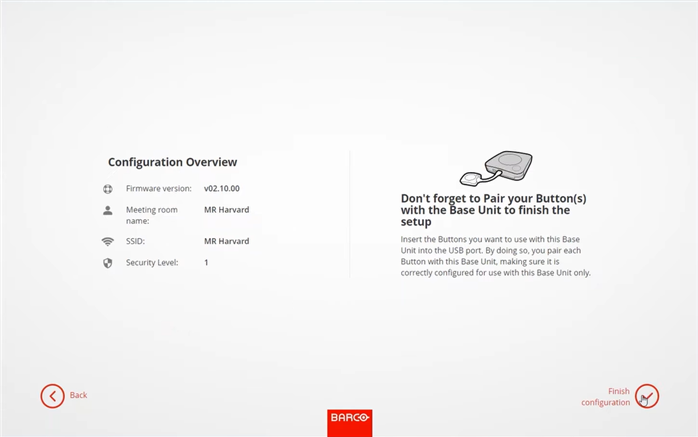
- Pair your Buttons to transfer the configuration and update the Button firmware
Once paired, the Buttons will only connect to that Base Unit and when a consecutive firmware version is installed on the Base Unit, it is not required to re-pair the Buttons. Installing the new Button firmware will happen automatically when the Button is in use.
For more information on Button pairing, see KB 5924.
- All set! Your device is now ready to use.
Note that although we strongly advise you to keep the units on the network and connected to the XMS Cloud, your Base Unit does not require an active internet connection to remain functional.


