Introduction
There are several ways to share your screen during a weConnect session:
- Use embedded sharing from within the Teacher UI (user interface) or Participant UI:
- Google Chrome for Windows and Android
- Safari for MacOS and iOS
- Use MirrorOP application while in the room
- Use AirPlay for iOS and MacOS while in the room
- Use an HDMI™ to USB converter to add a "USB Camera" on the main node; this way you can share any external source having an HDMI out (e.g. ClickShare)
For the best experience we recommend to use of a laptop. Take into account the limitations outlined below while using BYOD devices.
Typical use case for BYOD devices:
|
Task |
Practical use by device type | ||
|
|
Laptop |
Tablet |
Phone |
|
Produce documents |
√ |
- |
- |
|
Present prepared work |
√ |
√ - |
- |
|
Take notes |
√ |
√ |
- |
|
Raise silent question |
√ |
√ |
√ |
|
Share a picture or pdf |
√ |
√ |
√ |
|
Participate in a quiz or poll |
√ |
√ |
√ |
Share from the weConnect UI
Depending on the institute settings both hosts (teachers) and participants can have access to a "Share" button in their user interface.
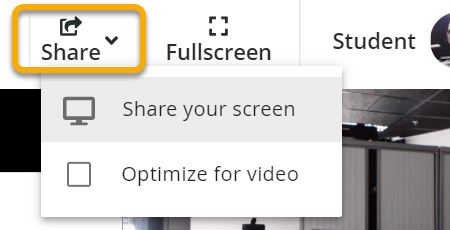
Sharing as a host has additional features compared to sharing as a participant:
- The shared content from a host is automatically added to the teacher content visible to participants; content shared by participants is available as a source to the host. He/she needs to approve to make it visible to all
- Host can share audio along with the video content; this is not possible as a participant to avoid feedback loops
- Host can share a YouTube video via URL: in this case the YouTube video is playing locally at the Participant's end.
When sharing your screen a confirmation bar appears at the bottom
- You stop sharing from the button on this bar
- You can hide the bar
- You can reposition the bar by dragging and dropping it to a different spot on your screen

Note: If Direct sharing is enabled in the location (this is a configuration in the admin UI) and you have Optimize for video disabled and these is only one source selected to be displayed in the teacher content, the stream will go directly up to video servers in the cloud and down to the participants, rather than first going into the main node. This will improve the quality at the participants' side.
Optimize for video
Depending on the content that is being shared, you can opt for more detail or for better video.
![]()
Switching off Optimize for video results in higher resolution and lower frame rate. This is the preferred mode while sharing text and detailed content (e.g. pictures, slides presentations. It is not the best choice for fast moving content.
![]()
Switching on Optimize for video sets the priority to a higher frame rate over resolution. This is the preferred setting in case of video or moving content.
You can decide to change the setting at any time under Share options.

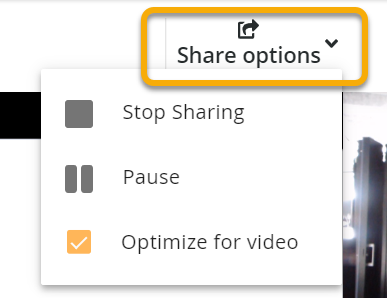
Share a YouTube video
Click Share a YouTube video and enter the link of the YouTube video that you want to share.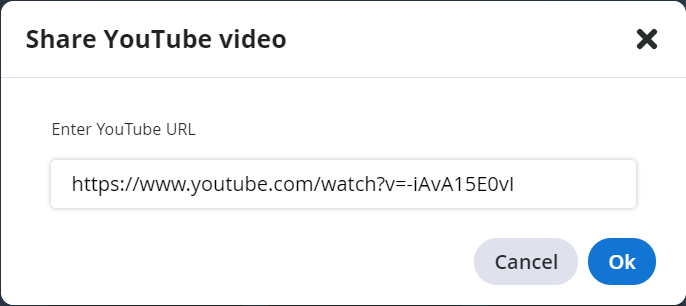
The link will be sent to all participants and opened locally!
Note that it is only possible to start, pause, resume or stop this YouTube video. You can not use the slider to quickly move forward or back.
Share through MirrorOp (Windows, Mac, iOS, Android)
In this section you can find more information on how to use the MirrorOp from various devices and operating sysem (OS) versions.
weConnect is a licensed MirrorOP solution, so usage is free for all weConnect users.
You can download the application for free:
- from https://www.barco.com/en/product/mirrorop
- from your iOS/Android app store.
- from within the teacher UI in weConnect
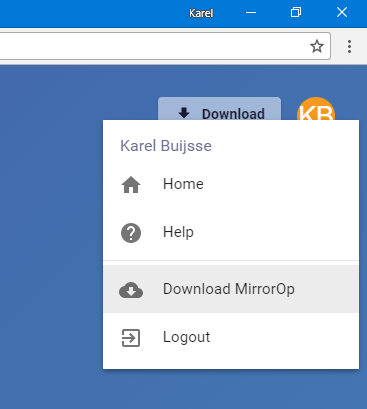
Note: For some advanced features, additional drivers may be required. You will see a hint message when selecting such a feature. Follow the information in the message to download and install additional drivers if you want to use it. This is mainly required if you wish to share content which includes audio.
MirrorOp installation instructions
Install the MirrorOp Sender app for your device and OS by opening the setup file and clicking the executable. Follow the instructions in the dialog box. You may have to reboot your device during or after the installation.
Sharing content with MirrorOp
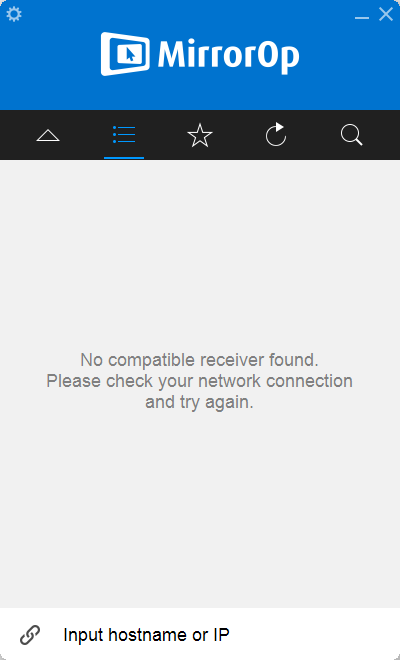
MirrorOp will look for a display. If it can’t find one (not all networks support auto-discovery) you can enter the name displayed on the screen to which you want to share.
- In MirrorOp, click Input hostname or IP (see picture below).
- Enter the hostname or IP address of the main display where you want to share your content and press Enter.
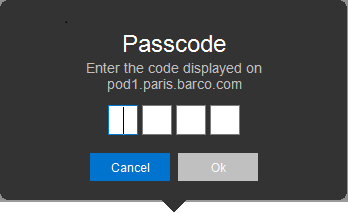
- Enter the passcode that appears on the display.
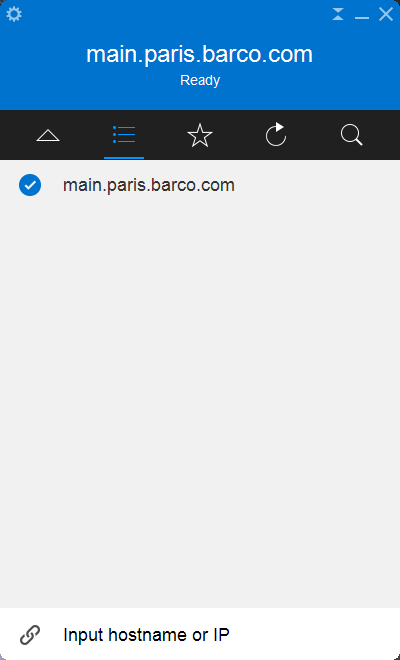
- Move your mouse cursor away from the MirrorOp application to allow the bar to collapse.
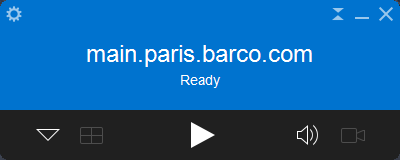
The bar will automatically retract further to the minimal form after a while.
You can use the icons with the 2 triangles to make the bar bigger or smaller again. - On the MirrorOP bar, press the Play icon to share your content the presentation screen.
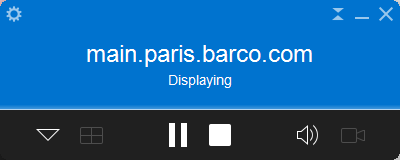
The bar will automatically retract further to the minimal form after a while.
If the screen is moderated by a lecturer, your content might not show on screen. The lecturer will decide when and how to show it.
Press the Pause icon to freeze the display.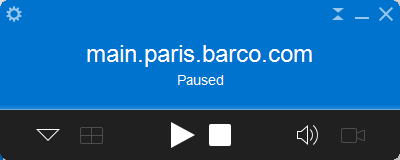
The bar will automatically retract further to the minimal form after a while.
- Press the square Stop icon to stop sharing your content.
- Disconnect from the display by making the MirrorOp bar larger. You can do this by pressing on the white triangle pointing down on the left side of the bar.
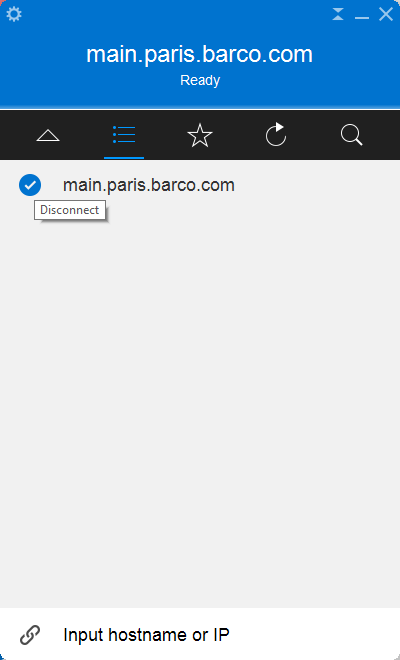
- Press the blue Check icon to disconnect from the display.
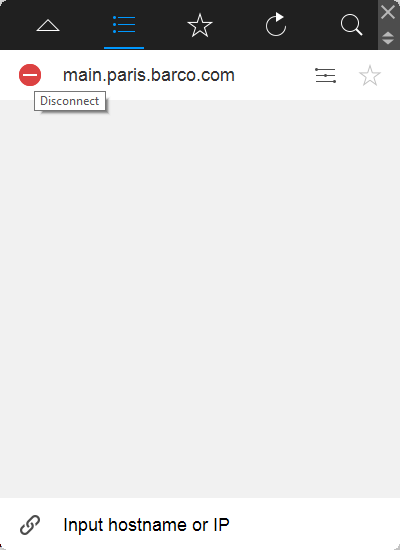
Check out this video to learn how to share content using MirrorOp.
Advanced MirrorOp features
- Save a display in your favorites by pressing on the white star next to the display name. Now this display will be remembered in your favorites list. You can access the favorites list by pressing the white star in the center black bar of the main application window.
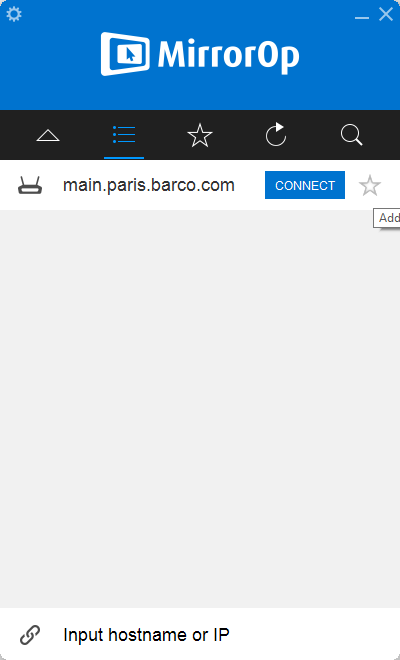
- Reconnect to a display by pressing on the CONNECT button next to the display you have just shared to.
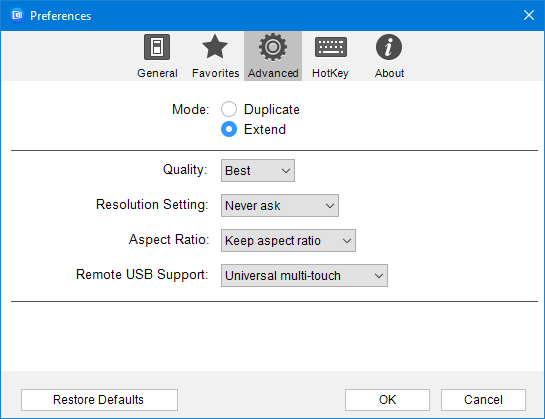
- Use the extend option in MirrorOp advanced preferences to present only your extended screen. This way you can use the classroom display as an external monitor
Airplay
For detailed instructions on how to use Airplay to mirror your device, please see the official Apple support website for more instructions: https://support.apple.com/en-us/HT204289
Some networks do not support the Bonjour protocol required to enable Airplay connections to weConnect displays. If you can’t discover the weConnect displays, then please contact your IT responsible allow Bonjour discovery protocol on your network.
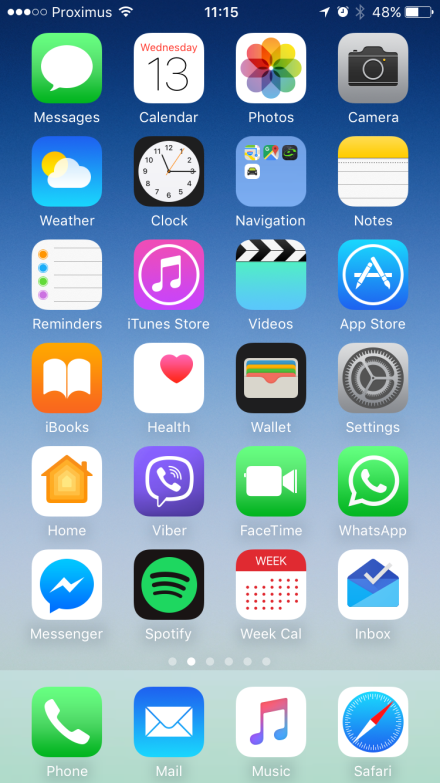
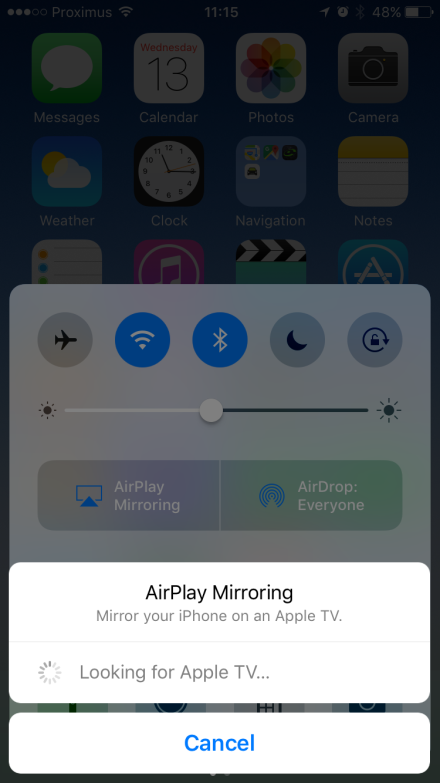
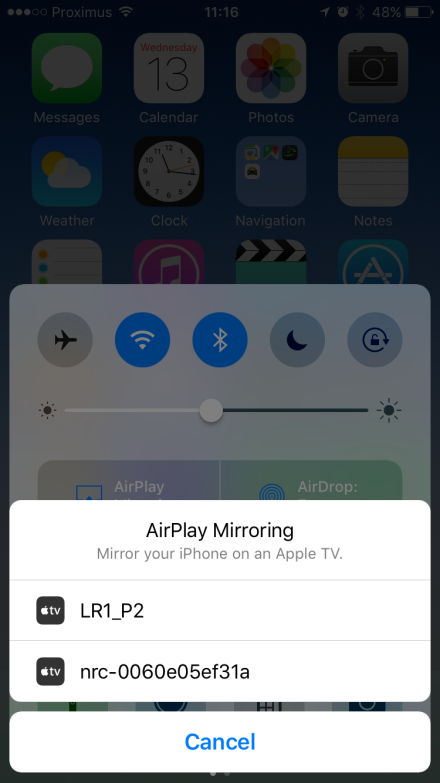
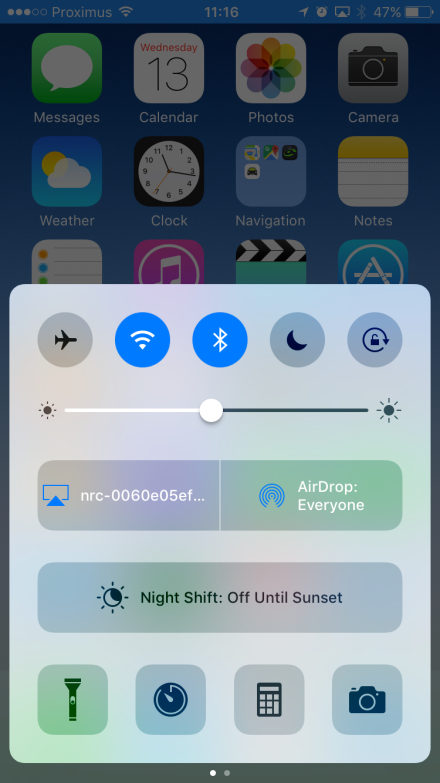
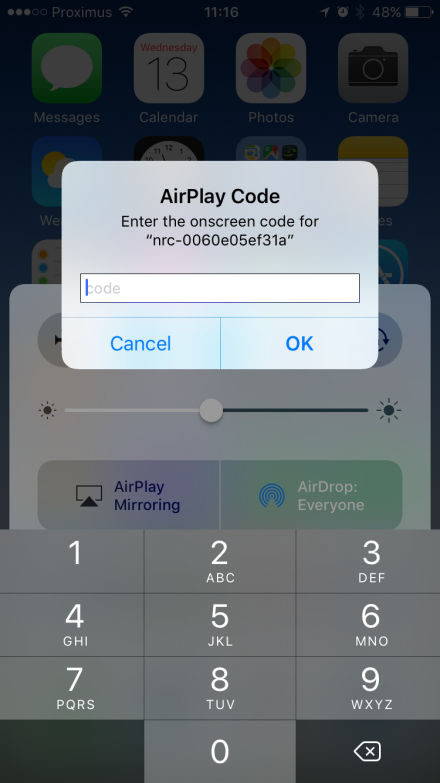
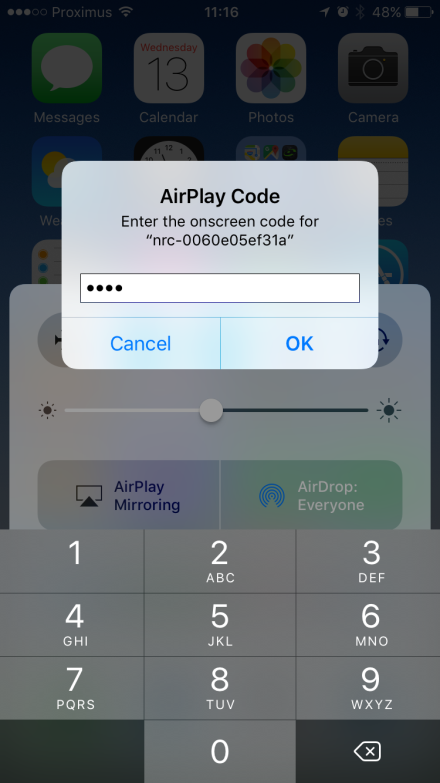
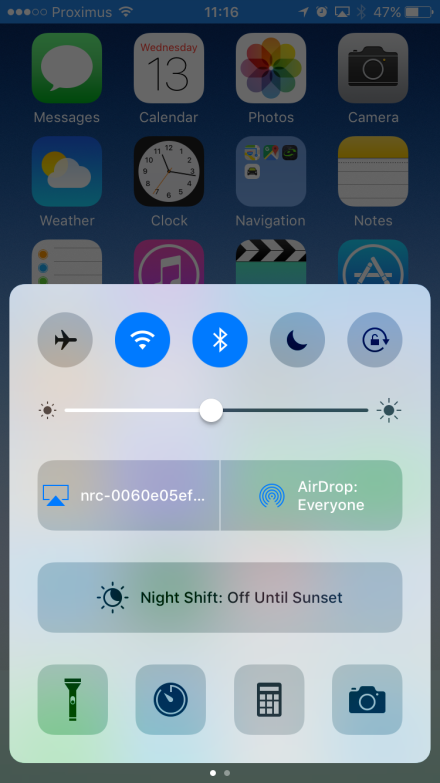
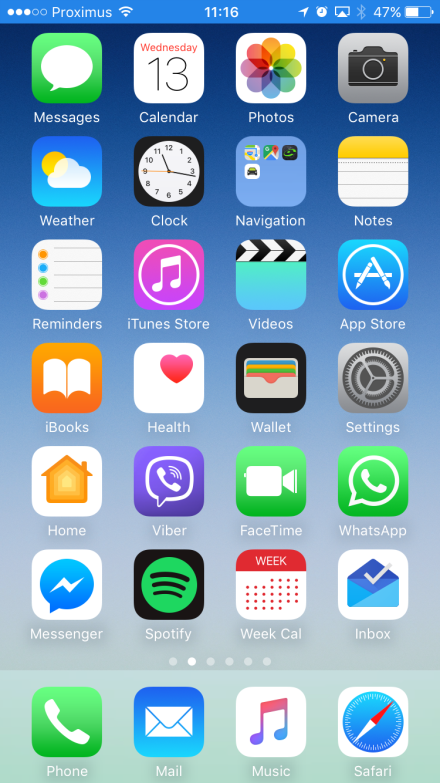
The quick reference guide below shows how you can drag the settings panel up from the bottom of the screen. Select AirPlay Mirroring and choose one of the possible destinations. Fill in the pin code that pops up on the display for a number of seconds.
