Deploying XMS Virtual Edge OVA file on VMware (ESXi, Workstation or Viewer)
If you have Workstation or Viewer, simply double click the OVA file and the import begins.
To give you a preview of what to expect, this process is a vanilla install of a virtual machine. For the recommended physical requirement on the VMware Host, see KB 3628.
No advanced tools provided by vCenter have been tested or verified, use at your own risk.
DO NOT modify/add VMware tools to the XMS VM.
The THIN disk is shown in this lab example, live deployments should use THICK for performance.
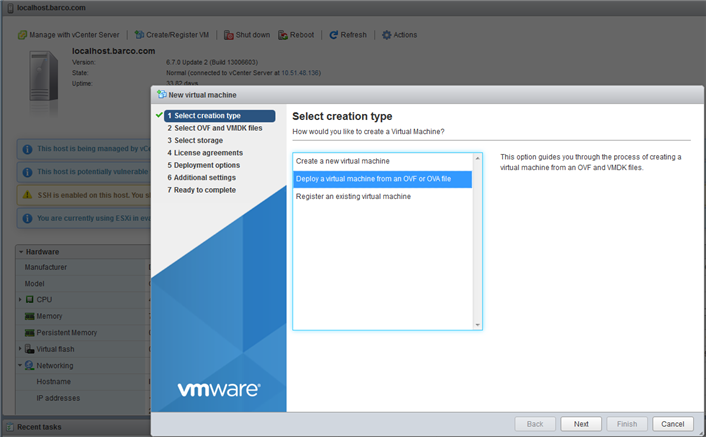
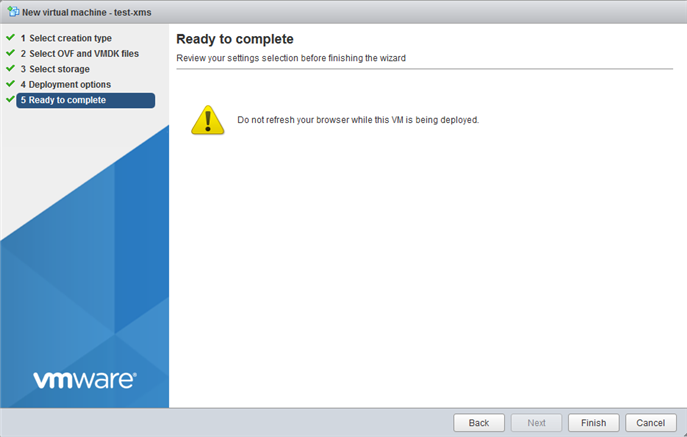
- Click Create/Register VM menu, select Deploy a virtual machine from an OVF or OVA file and then click Next.
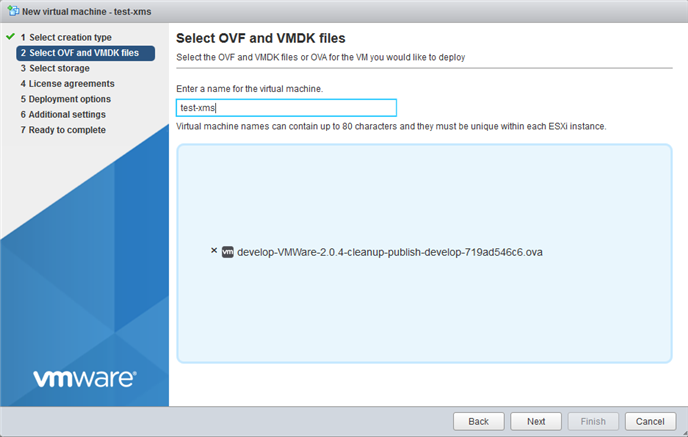
- Provide VM Name, Drag and drop the OVA file and then click Next.
- Click Next.
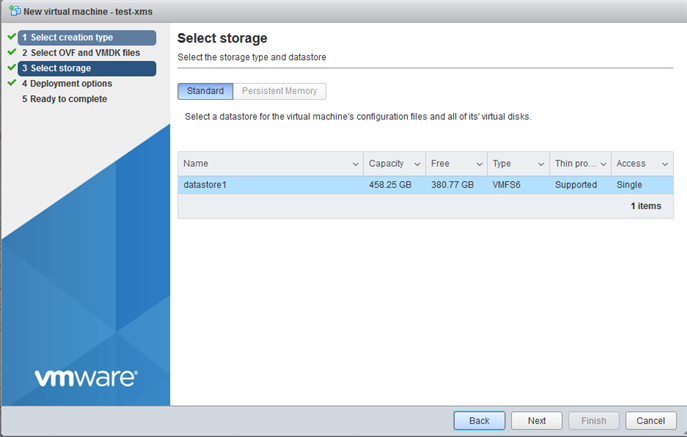
- Click Next.
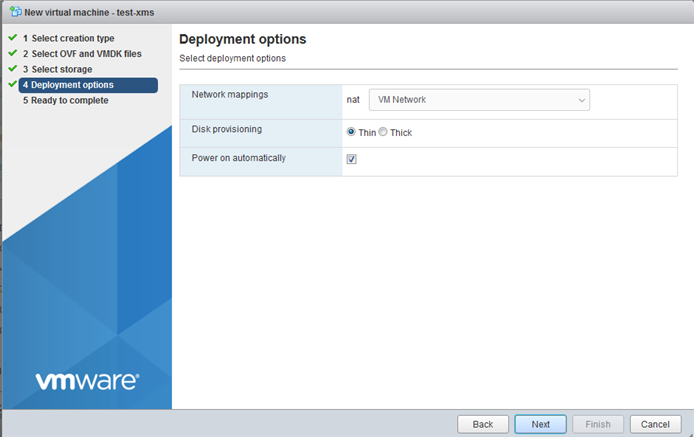
- Click Finish to complete the deployment process.
Import the OVA using vCenter
- Select a host.
- Select Deploy OVF Template.
- Browse to the OVA file and select
- Provide VM name or use the default name, select Datacenter, select a host, select storage.
- Use the default Network option (nat) or select bridged as required by your VM IT team.
- Start the deployed VM.
Post Installation
Access the URL displayed on the VM monitor/screen with any browser. Follow the prompts to complete the configuration. Use your Barco account (created on the Barco.com home page) that is normally used to access Barco content. You can create administration users after the fact.
Migrating from a 1.x version of CMGS involves backing up and restoring of the database. Follow the prompts supported by the XMS browser to add Base Units.
The XMS installs with DHCP only, there is no option for a static IP on initial installation.
THE DHCP address is displayed in the VM window. Point your browser to this IP, the browser will be redirected to the Barco XMS cloud (assuming the internet is reachable by the VM). Reaching the internet is mandatory at this stage.
Perform the online registration using your Barco userID. The normal operation follows.


