This article describes how you can start or plan a lecture:
Creating or planning a lecture
- Browse to the URL of your institute
- Log in using an account that has been given rights to create or plan a lecture
- Click Plan a session

- Fill in the details

- Session name: this name will be visible for students to select a lecture to join. Click the edit box and type your name to change the text.

- Location: you can click a room listed under Recent locations, you can start typing the room name in the edit box and select the room name as it appears, or you can click the edit box and use the drop down lists to get to your room

- Select location type: this entry is only visible after you have chosen a Location
You can leave the proposed location type unchanged, or you can click it and choose any other location type from the drop down list.
Depending on your selection you might be asked to select one or more additional locations
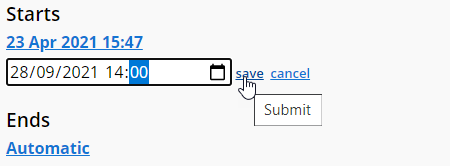
- Starts:
- leave this open if you want to start the lecture as soon as you have clicked Start Session at the end
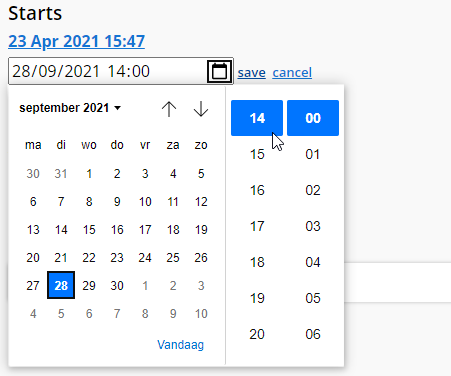
- or you can click Now, choose the start date and time and click Save; in that case the Start Session button will be replaced by a Plan Session button


- Ends:
- leave this open if you agree with the standard lecture duration (depends on the institute settings, by default 120 minutes)
- or you can click Automatic, choose the end date and time and click Save
- Session Host(s): by default your account will be added to the Session Host(s) section
- add additional host(s) as needed: start typing the name in the edit box and click the correct name as it appears
- use the bin icon next to a host's name to remove

- Open for everyone:
- leave the box checked if you allow anyone to join the lecture

- or uncheck the box. A new section Invitees appears. Add the names or group names of the people or groups that are allowed to join the lecture. Nobody else will see this lecture under Active Sessions or Upcoming Sessions

- leave the box checked if you allow anyone to join the lecture
- Session name: this name will be visible for students to select a lecture to join. Click the edit box and type your name to change the text.
- Now you can click Start Session to start the lecture right away (in case no start time has been specified) or click Plan Session to add your lecture to the list
- Start Session: this will start the lecture right away. You will be directed to the teacher (or host) user interface in this lecture

- Plan Session: this will add the lecture to the Active Sessions if the lecture is scheduled to start within 15 minutes or to the Upcoming Sessions

- Start Session: this will start the lecture right away. You will be directed to the teacher (or host) user interface in this lecture
- At this stage you can still edit your lecture: find your lecture under Active Sessions or Upcoming Sessions, click the three dots and choose Edit session, Delete session (if it has not been started), or Stop Session (if it has started already)

Starting an already planned lecture
You can start a lecture up to 15 minutes prior to the scheduled start of it. From that time onward it will be available under Active Sessions.
- Browse to the URL of your institute
- Log in using the account of one of the hosts that have been assigned to this lecture
- Click the correct lecture under Active Sessions

- The lecture starts and you are directed to the teacher (host) user interface in this lecture


