Since V3.0 the breakout room feature has new capabilities. See [KB11903]
CONFIGURATION (Only for administrator)
To activate the breakout rooms feature go to the Admin UI
- Select Features and activate the Virtual breakout session toggle
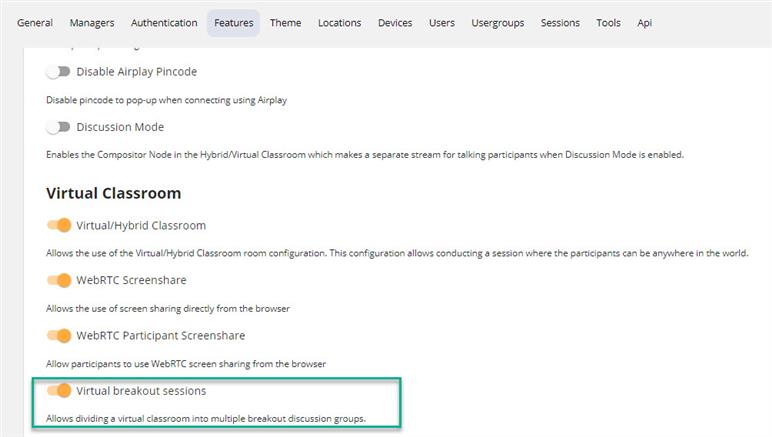
- Make sure your room configuration contains a Teacher Camera or Breakout Camera. It is necessary for the teacher to be able to join a breakout room (since v3.0.0). Otherwise, he won't be heard or seen by the students in the room.

HOST/OPERATOR
General information about the breakout:
- Creates groups of 1 to 8 participants
- Allows up to 100 breakout groups per weConnect session
Prepare the breakout session:
- Click the Breakout tab
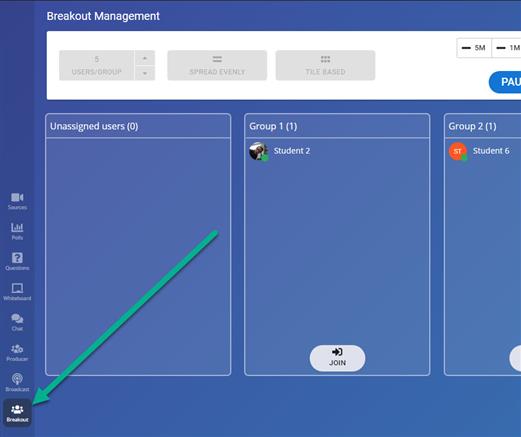
- Group composition
By default, the breakout groups include the participants as seen on the display wall. The people that are displayed on the same tile node display are in the same breakout group.
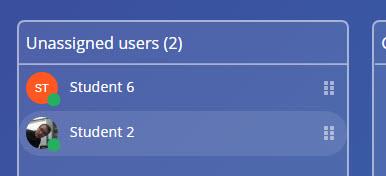
To change the composition just drag and drop participants into the desired breakout group.
Users that join later will join under the unassigned user's tab. The host can drag and drop in the breakout groups.
You can also use the following automatic assignment functions:- Users per group:

Create the groups based on the number of users per group. Don't forget to apply by pressing the button after selecting the number - Spread evenly:

Spread the users evenly in the existing groups - Tile-based:

Create group compositions based on the tile layouts - Shuffle participants:
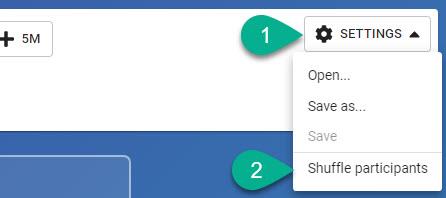
Shuffle around the users in the existing groups
- Users per group:
- Set timer
Select duration of the breakout session up to a maximum of 100 minutes
Use the +/- 1 minute, +/- 5 minutes to set the duration of the breakout session
- Start the breakout session
Participants will get notified that breakout will start in few seconds.
Manage the breakout session
- During the breakout session, the host/operator can:
Extend the time
By using the +/- 1 minute, +/- 5 minutes to set the duration of the breakout session
- Stop the breakout before the initially set end time
By clicking the Stop button - Pause the breakout
As opposed to stopping, pausing the session will keep the breakout room data like whiteboard and chat. - Manage the groups' assignation
Since v3.0.0, the participants can be moved from one group to another while the session is paused.
Join the breakout rooms
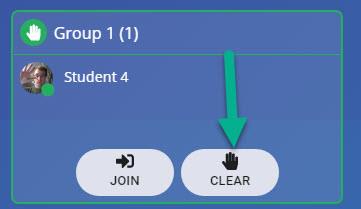
- See if participants raised their hand for help and join their room.

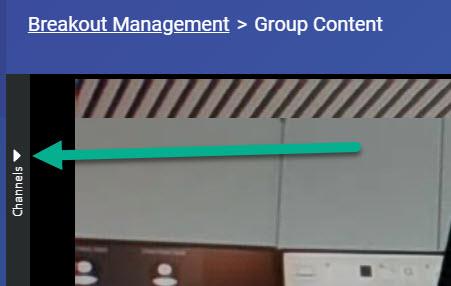
- In the room, you can check the shared screen and whiteboard with the "Channels" panel.
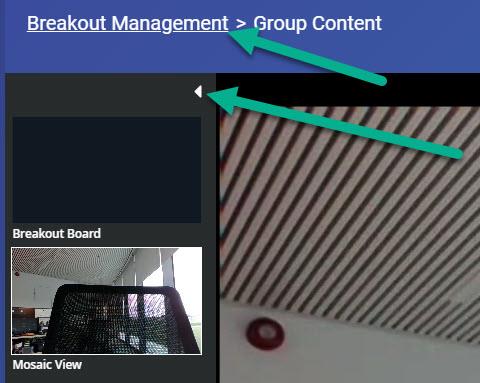
- Go back to the breakout management interface by Clicking Breakout management in the breadcrumb line.
- Clears the hand once help is provided.
PARTICIPANTS
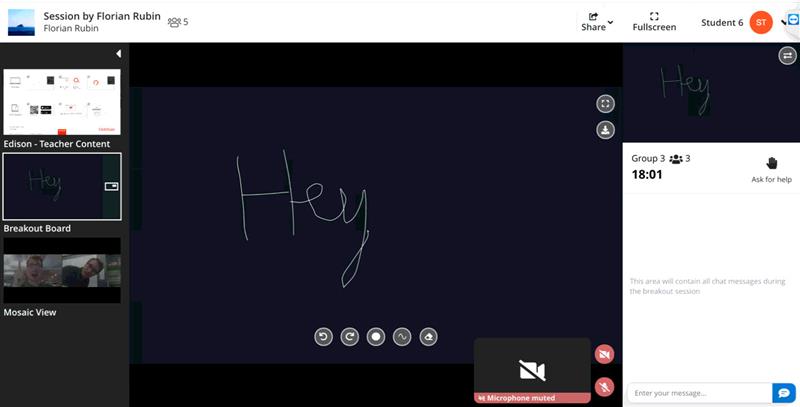
- Teacher content from the plenary room is still visible from the breakout as a specific content channel
- Participants can see how much time they have left in the breakout
- Participants talk and hear each other
- Participants can use the group chat feed as well as their own whiteboard
- Participants can share their screen with the group. Only one person sharing at a time
- Participants have a mosaic view channel showing the other participants of the breakout room
- Anyone in the group can press the Ask for help button (as well as reset)
- When the teacher joins the room, participants are notified and the teacher camera (or breakout camera) appears as a channel
Known issues
The host/operator can’t move participants between the different groups during the breakout session. Though, since v3.0.0, the participants can be moved from one group to another while the session is paused.


