Single Sign-On (SSO) integration
For the Single Sign-On integration we refer to the separate SSO integration guide which you can get from your Barco representative or request via the support ePortal.
Manual User Creation
Institute managers or Barco Partners can manually add user accounts in their institute(s).
- Go to the Users section in the admin UI

- Click Add new user
- Choose the authentication service that applies to the new users:
- E-mail/password
- SAML (i.e. Single Sign-On through SAML)

- Fill in all details and press Save
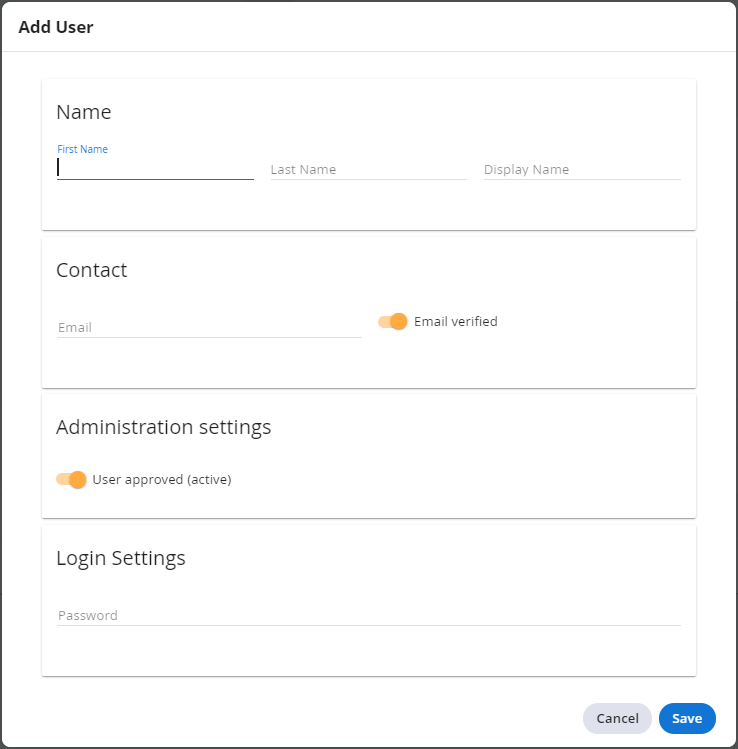
* First name
* Last name
* Display name: choose a short name that can be fully rendered on the display wall in a Virtual Classroom
* Contact: E-mail address
* E-mail verified: when enabled the user does not need to verify his identity by E-mail. If disabled, the user receives a verification E-mail and has to click the link to activate his account.
* User approved (active): if enabled the user is approved and can access the platform. If disabled, the user’s account is not approved to use the platform. This feature is used to manually approve new users (by an institute manager) or to 'ban' an existing user from using the platform.
* Login settings: enter a password for the new user (E-mail/password) or enter the SAML ID of that new user (SAML)
Updating a user
As an institute manager you can update the data of a user if needed.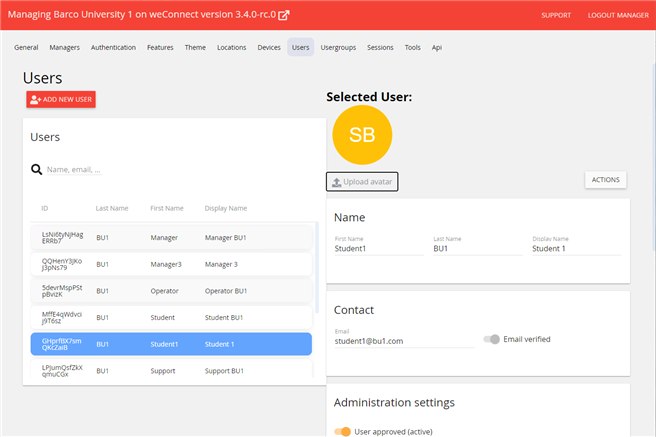
- Go to the Users section in the admin UI
- Search for the correct user and select it
- Update the data as needed and press Save
- Upload a (new) avatar
- Change Name: first name, last name, display name
- Change Contact: E-mail, E-mail verified toggle
- Change Administration settings: User approved (active) toggle
- Change Login settings: a new password can be entered, or an E-mail can be sent to allow the user to reset his/her password
- Add or remove an identifier (i.e. key/value pair that can be used in API scripts)
- Add or remove user groups to which the user belongs
Or an existing user can be deleted.
- Go to the Users section in the admin UI
- Search for the correct user and select it
- Click Actions
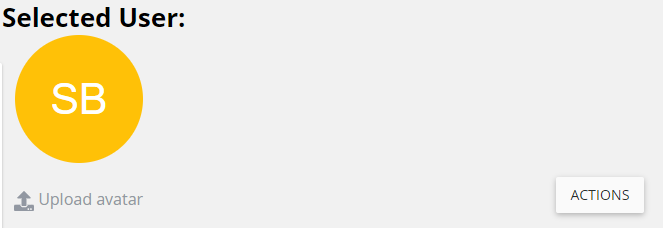
- Click Remove
Usergroups
Users can be assigned to and divided in different groups, e.g. based on their rights in weConnect, on the courses they are following, or on the faculty they belong to.
There are a number of user types in the system: admins, partners, managers, operators, teachers, students and support people. In this section, only operator (or producer), teacher (or host), student (or participant), and support types are configured. The configuration can be found in the User groups section of the admin UI.
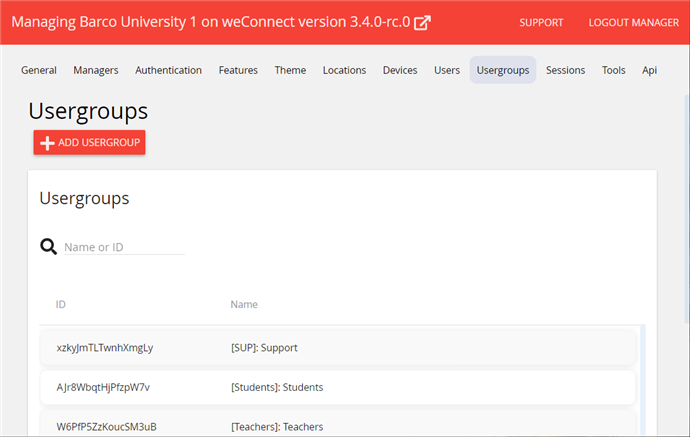
Adding a user group
As an institute manager you can add user groups.
- Go the the User group section in the admin UI
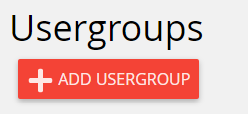
- Press Add User group
- Fill in the data in the dialog that pops up
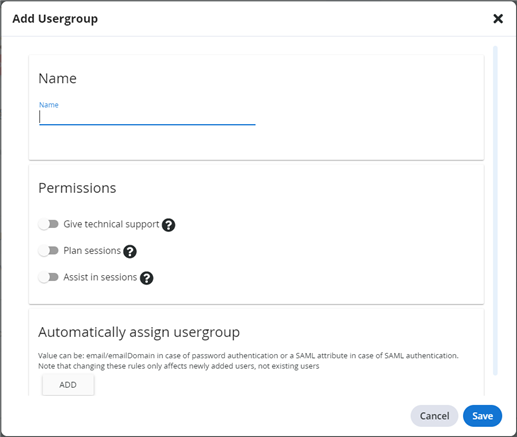
- Name: enter the name of the new user group
- Permissions: set the correct permission(s) for this user group. If no permissions are enabled, people in the group can only join sessions.
- Give technical support: people in a group with this permission can join sessions and open the support page to react to conversations.
The Support button is present in the header of the participant's user interface when at least one person in the active lecture has this permission.
- Plan sessions: allows to plan new sessions and start planned session.
- Assist in sessions: gives people the possibility to support teachers during their lectures and act as an operator/producer. This can be very useful in a Virtual Classroom use case where an operator can bring a lot of added value to the experience. The operator in a Virtual Classroom takes no seat, and has access to the full teacher UI in the session.
- Give technical support: people in a group with this permission can join sessions and open the support page to react to conversations.
- Automatically assign user group: see the concerning section below
- Press Save to store all settings
Updating a user group
As an institute manager you can update the data of a user group if needed.
- Go to the User groups section in the admin UI
- Search for the correct user group and select it
- Update the data as needed and press Save
- Change the group name
- Change permissions
- Add or remote a rule to automatically assign users to the group
- Add or remove an identifier (i.e. key/value pair that can be used in API scripts)
- Add or remove users from the user group
Or an existing user group can be deleted.
- Go to the User groups section in the admin UI
- Search for the correct user group and select it
- Click Actions
- Click Remove
Assigning users to a user group
There are three different ways to assign users to a user group:
- Manually from the User section in the admin UI
- Manually from the User group section in the admin UI
- Automatically by setting one or more rules in the User group section in the admin UI
Manually assign users to a user group from within the User section
- Go the the User section in the admin UI
- Select a user
- Scroll down to the section User groups
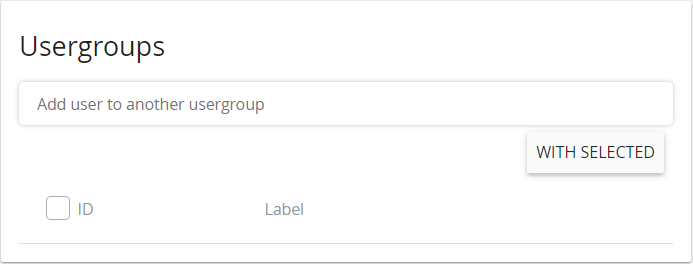
- Start typing a user group name to trigger a fuzzy search
- Click the desired user group
You can remove a user from a user group from the same section:
- Check the box in front of the user group(s) from which you want to remove the user
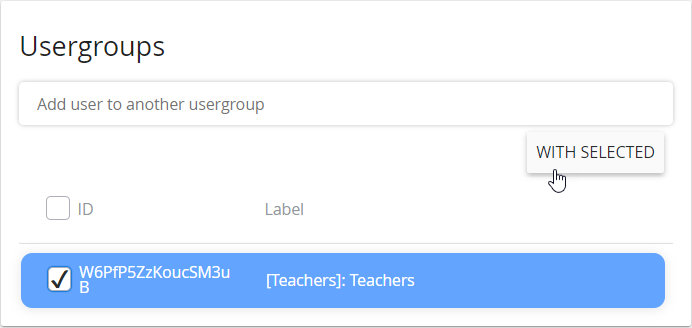
- Click With selected
- Click Remove
Manually assign users to a user group from within the User group section
- Go the the User group section in the admin UI
- Select a user group
- Scroll down to the section Users in user groups
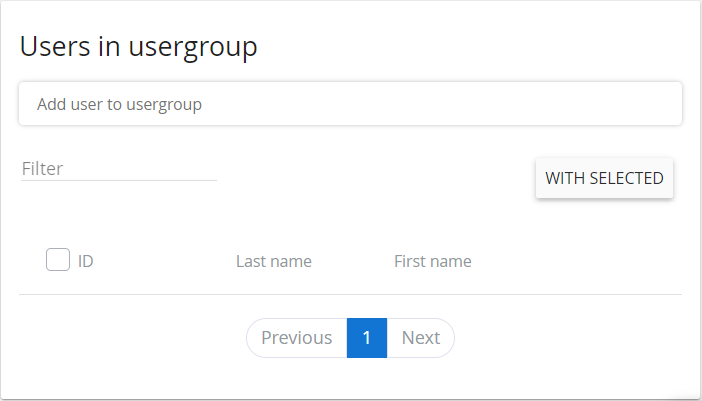
- Start typing a user name to trigger a fuzzy search
- Click the desired user
You can remove a user from a user group from the same section:
- Check the box in front of the user(s) that you want to remove from the user group
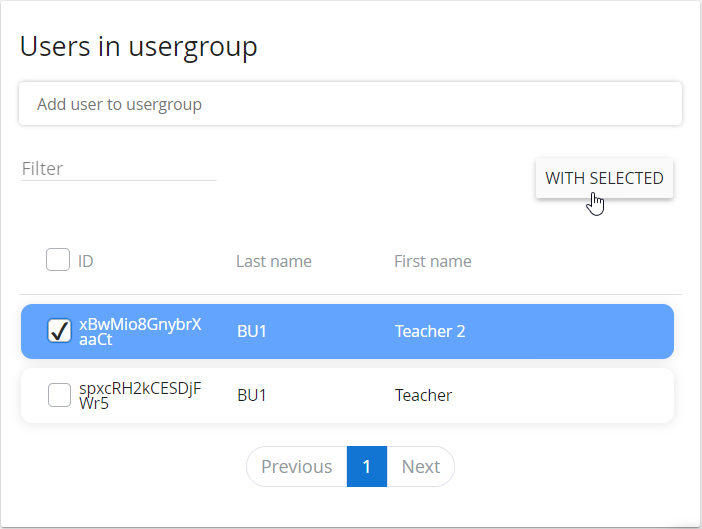
- Click With selected
- Click Remove
Automatic user group assignment
Rules can be defined to automatically add users to a certain user group. This can be very useful and time-saving if large groups of users need to be assigned to a user group.
- Go the the User group section in the admin UI
- Select a user group
- Scroll down to section Automatically assign user group

- Click Add
- Define a new rule
E.g. all new users that have an E-mail address in domain barco.com OR an E-mail address ending on edu.com will be assigned to the selected user group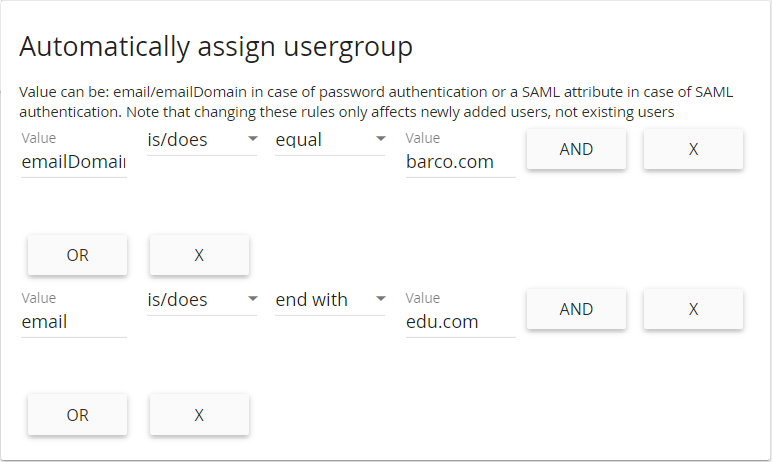
- Press Save
The value depends on the authentication service used:
- In case of E-mail/password authentication you can use: email or emailDomain
- In case of SAML (SSO) authentication you can use a SAML attribute.
Additional rules can be added with AND and OR.
Rules can be removed by clicking the X sign:
- the X sign at the end of one line, only removes that line from the rule
- the X sign at the bottom of the section removes all lines of the rule.
Creating complex rules using additional attributes from the SSO authentication is also possible. Use the attribute URL to name the property to compare. The list of common attributes can be found on this link: https://docs.microsoft.com/en-us/dotnet/api/system.security.claims.claimtypes.


