Institute Location Setup
In a weConnect institute the Barco partner or an institute manager can define a hierarchical tree structure reflecting the physical setup of a real institute, including the institute itself (highest level), campuses, buildings, floors and rooms (lowest levels).
At each of the levels you can configure a number of parameters and settings. Configuration at higher levels is inherited by lower levels, but the inherited settings can be overruled by configuration at lower levels.
There are two sections that are discussed in this article:
Setup of the institute hierarchy
Think about how the hierarchy of your institute should be entered: it must be future-proof and ready for expansion.
E.g. if you have linked rooms directly to a campus without having added buildings first, there is no way to define buildings between that campus and its rooms afterwards, unless you delete all rooms, define a building and add the rooms again. This implies a re-do of all room configurations (hardware, peripherals and room scenarios!).
The procedure below describes how you can set up the institute tree structure in the admin UI.
- Go to the Locations section in the admin UI: the institute level is present by default

- To go to a lower level, click >.
To add campuses, buildings, floors and rooms, click Add location and fill in the details
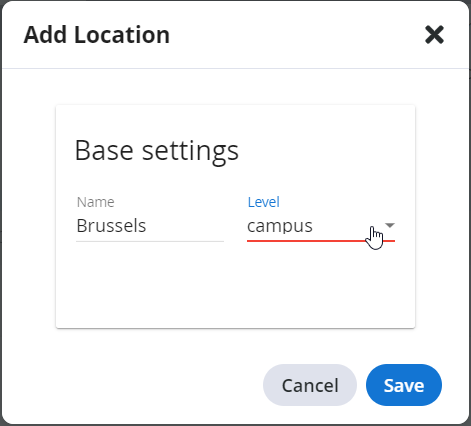
- Name: enter a meaningful name for that level
- Level: choose the correct level
- Ad-hoc usage allowed (only at room level): see Location settings below
- Enable direct screen sharing to remote participants (only at room level): see Location settings below
 Note: At least one room is required in order to continue the configuration of your institute!
 - You can delete any location (except for the institute level)Warning: All underlaying locations will be removed as well, including all configuration!
- Click the location to be removed. A selected location is highlighted by a blue bar
- In section Locations settings, select Actions
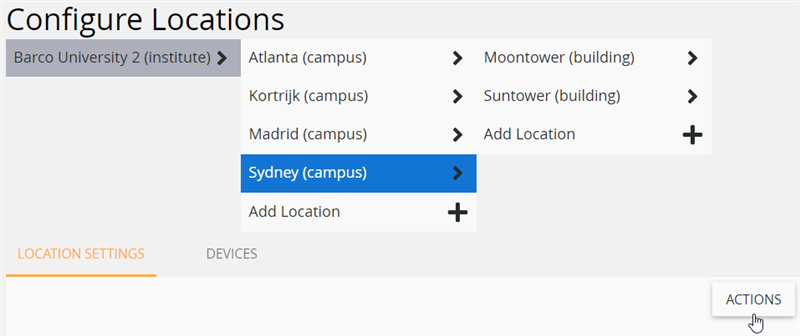
- Select Remove
- Confirm
Remark: Reconfiguring the position of rooms, floors, buildings and campuses is not supported! Check each level before moving on to the next lower level. Adding a higher level later on implies that the corresponding lower levels will have to be removed and configured again.
Location settings
You can find the location settings in the admin UI:
Locations > [Location name] > Location settings
The location settings can be different from level to level. This section lists all possible configurations that can be found under location settings.
Base settings
In this section you can make the following changes. Don't forget to click Save afterwards.
- Name: change the name of the level (not possible at institute level)
- Level: change the level: be careful to respect the hierarchy
- Ad-hoc usage allowed (only at room level): allows a student to start a session dedicated rooms. See [KB7820]
- Enable direct screen sharing to remote participants (only at room level): allows for direct sharing to the remote participants if only one source is being shared at a time and if possible in your virtual/hybrid classroom.
Audio
This section is available on room level.
- Digital audio mixing (only relevant for virtual/hybrid classrooms)
- enabled: weConnect creates and managers the audio mixes that are required
- disabled: a DSP must be set up to manager all audio streams
- Default main volume (only relevant if the speakers in the room are connected to weConnect): sets the default volume for the room speakers.
Proxy settings
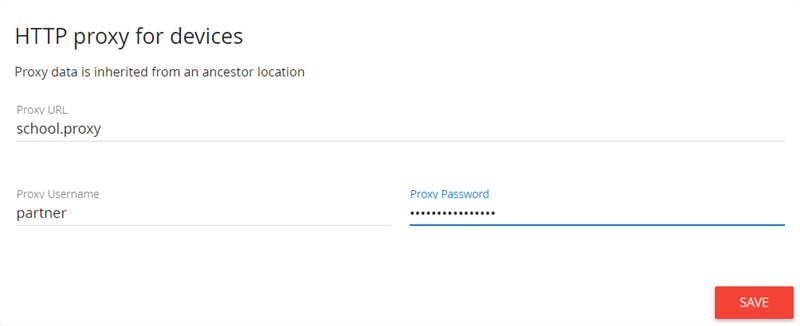
If a proxy server is used, enter its URL, user name and password in this section and confirm by clicking Save.
WebRTC TURN settings
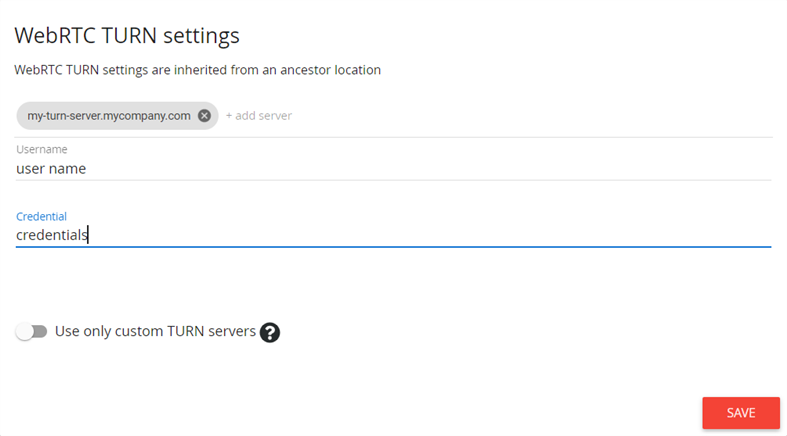
If a webRTC TURN server is used to relay the traffic between peers on different network segments, enter its URL or host name, user name and credentials in this section.
You can opt to only use custom TURN servers.
Confirm by clicking Save.
Time settings
You can define a time server to provide the accurate time to all devices.

Session recording settings ad fallback recording settings
Recording of a lecture can be implemented. We currently support two recording services and have them integrated in weConnect.
See [KB10907].
Identifiers (API)
In this section you can add your own identifiers as key/value pairs (max. five) and use them in your APi scripts.
Default wallpapers
You can choose the image that is visible on the displays while they are not in use.
The wallpaper to be shown can be linked to a specific device role and room configuration.
- Click the pencil on the tile presenting the device role/room type for which you want to set a wallpaper

- Optionally upload a new wallpaper by selecting an image on your computer or by dropping an image in the field providedNote: The maximum size of the image is currently limited to 1MB. Standard extension types like .png and .jpg are supported!
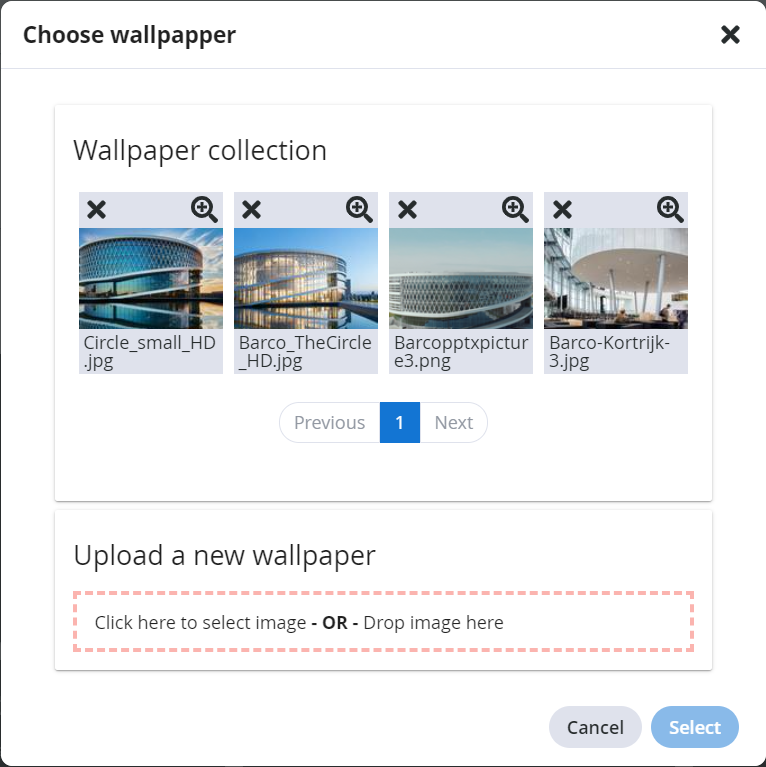
- Select one of the available wallpapers by clicking its magnification glass to link it to the selected display.


